New items in stock
We have another good-sized batch of new cars for you this week. Here they are…

NSR 1100 Ford MkII, blue #2 Sebring 1966 – $259.99. What accounts for a $260 price on an NSR car? Partly it’s because they only made 178 of them, but it’s mostly because each one come with a backing card personally autographed by Dan Gurney.

Racer RCRG5 Ferrari 312P aero test car – $289.99

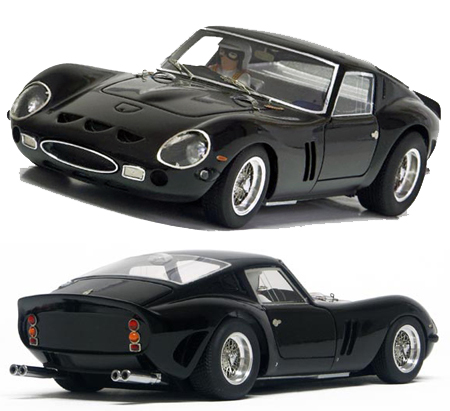
Racer SL05B Ferrari 250 GTO black road car – $179.99

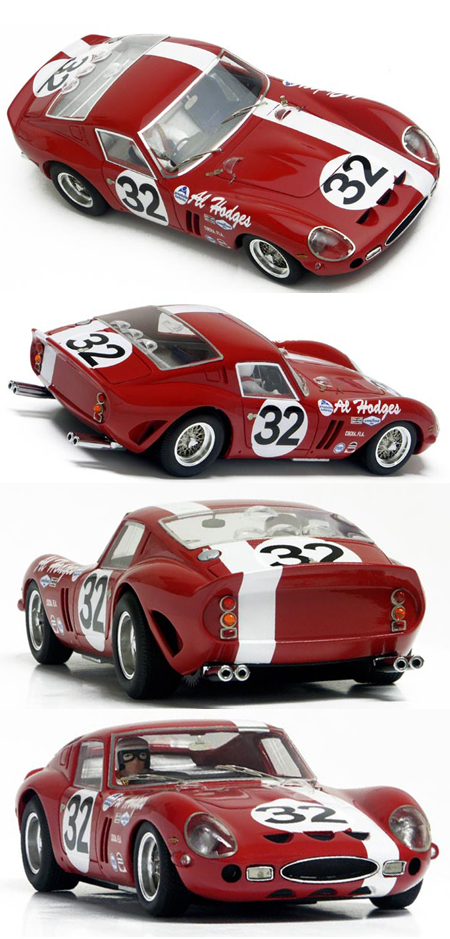
Racer SL05R Ferrari 250 GTO red road car – $179.99

Racer SL05Y Ferrari 250 GTO yellow road car – $179.99

Racer SL06 Ferrari 250 GTO, Daytona 1964 – $179.99

Scalextric C3140 START (LMP) GT Twin Pack – $44.99

Scalextric C3175 BMW Mini road car – $34.99

Scalextric C3177 Audi R8 LMP road car, red – $34.99

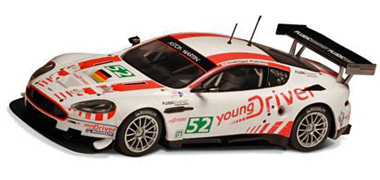
Scalextric C3196 Aston Martin DBR9 – $49.99

Scalextric C3201 Aston Martin DBS, light blue – $49.99
Just for fun…
GT1 Camaro project
A few editions back we gave you a first glimpse of our project to unite a Carrera Camaro Concept Car body with the chassis and interior of a Scalextric TransAm Jaguar to make a 2011 tube-frame Camaro. Well, it’s time we gave you a progress report and began describing the process of turning what looks like a caricature of a road car into a proper SCCA GT1/TransAm car. Here’s what we started with and where we are now:

As you can see, a lot has happened between the upper and lower images. The project consists of 5 main tasks.
1. Shortening the body to fit the TransAm Jaguar chassis.
2. Modifying the chassis and interior as needed.
3. Lowering the body over the chassis and mounting it.
4. Remaking the wheel openings.
5. Adding all the signature GT1 car details.
At this point we are finished with tasks 1 and 3, close to finished with task 4, right where we need to be at this point on task 2 , and we’ve made some progress on task 5.

Initial measurements indicated that we would need to shorten the Camaro body by 9/16″ and that to fit the Jaguar roll cage the cut had to come out of the Camaro’s passenger compartment. If you look closely at the photos you can see that we didn’t get the cut through the top quite straight, but the door cuts were right on and we were able to fill the small gap in the top with sheet styrene. Our process here has some similarity to the ways in which a 1:1 scale road car body shape is transformed into a race car configuration. If you look closely at almost any tube frame race car you will see that while the car is instantly recognizable as the make and model it represents there are few or no dimensions or contours on the body that exactly match the road car’s.

As you can see in this photo we used pieces of sheet styrene inside the body to reinforce the joint between the two body halves and provide lots of surface area for CA gluing them together. There are also pieces of sheet styrene on the underside of the top.
NEXT- body mounting and chassis/interior mods.
If you have any questions or comments on this article please send them to support@electricdreams.com.
Thanks for shopping with us!
The Electric Dream Team
Warehouse phone (310) 676-7600
![]()
Slot car technical information and advice: support@electricdreams.com
Our warehouse is open to walk-in customers Monday through Friday 9 am to 4 pm. Next time you’re in the greater Los Angeles area stop by and see us at:
606 Hawaii Street, Unit B
El Segundo, CA 90245
We’re just minutes from LAX.


